Xbox 360 Red Ring Error Codes: What the Different Lights Mean appears as glowing red quadrants around the power button and tells a technician where to start. Gamers who see those lights first count how many quadrants are lit, then match the pattern to likely hardware or connection problems. This guide explains each ring pattern, shows a step‑by‑step diagnostic sequence the user can follow at home, and lists practical fixes that work most often. It keeps instructions direct, with clear warnings about repairs that need professional attention.
Table of Contents
ToggleKey Takeaways
- The number and position of red quadrants in the Xbox 360 red ring error codes directly indicate specific hardware or connection problems.
- Two red lights usually signal overheating issues that can often be fixed by improving console airflow and cleaning vents.
- Three red lights represent a general hardware failure and generally require professional board-level repairs.
- Four red lights mean the console isn’t detecting the AV/video connection and can often be resolved by checking or replacing cables and TV inputs.
- Single-quadrant red rings often correspond to specific errors like E74, requiring motherboard repairs or replacements.
- Following a step-by-step diagnostic sequence—identifying quadrants, reading error codes, and swapping cables—helps gamers decide between DIY fixes and seeking professional repair.
What Each Red Ring Pattern Typically Means
One clear fact: the count and position of red quadrants maps to different fault types. The Xbox 360 uses four quadrants (Q1 top‑left, Q2 top‑right, Q3 bottom‑right, Q4 bottom‑left) to signal errors.
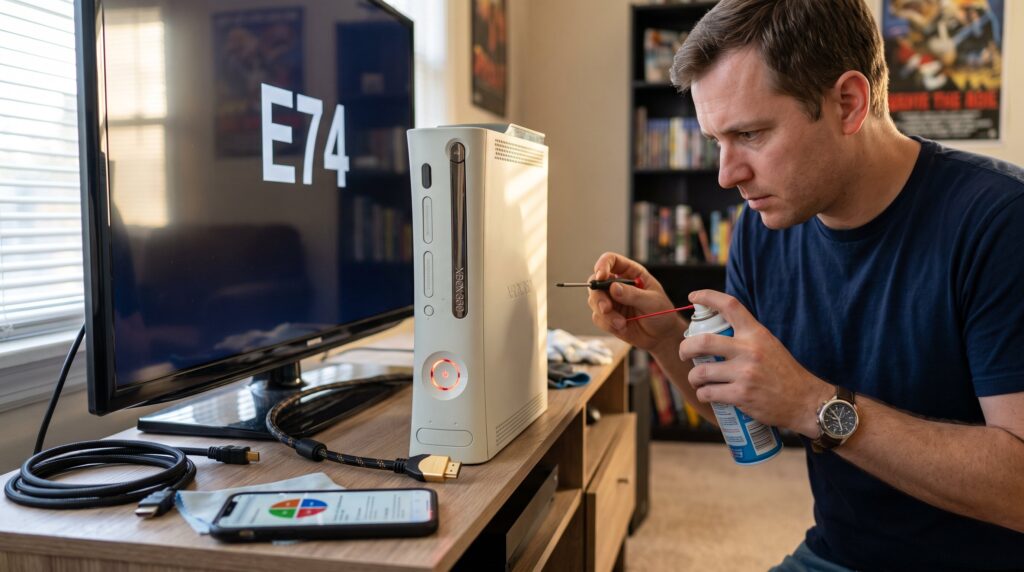
Single‑quadrant: When only one quadrant glows (often Q4), the console usually reports a specific error such as E74. This points to scaler, video chip, or related board faults. The display often shows a matching error string when the system attempts to output video.
Two quadrants: Two red lights (commonly Q1 and Q3) are most frequently thermal, the system detected overheating or thermal overload. The console may have been placed in an enclosed cabinet, or dust and failed fans are restricting airflow.
Three quadrants: Three red quadrants (Q1, Q3, Q4) create the classic “Red Ring of Death.” This signals a general hardware failure, CPU/GPU faults, cracked solder joints, or failing power delivery. Many of these cases need board‑level work.
Four quadrants: All four lights usually mean the AV/video connection isn’t detected. The console might be powered but not sending a signal because the cable is damaged, unplugged, or on the wrong input.
Quick example: a friend reported Q4 only plus an on‑screen E74, that matched a failed video scaler chip and required board repair. Another player saw two lights after marathon sessions in a cupboard: cleaning vents and adding a fan solved it within days.
How To Diagnose Your Console Step-By-Step
Answer first: follow a simple, ordered checklist that narrows issues fast. Step 1: identify which quadrants and how many lights are red. Write them down or photograph them.
Step 2: check the TV for a primary error code (E64, E68, E74, etc.). Many consoles display a text error that directly narrows causes. If the screen shows nothing, ensure the TV input and cable are correct before continuing.
Step 3: extract the secondary error code using the sync/eject method. Hold the sync button and press eject four times: each press makes a quadrant flash 0–3 times. Read the four digits to form the secondary code (for example 4‑4‑4‑1 becomes 0001). This code often maps to precise board faults like power rail failures or GPU‑solder issues.
Step 4: match codes to likely faults. Use official lists or trusted repair references to interpret codes: 0001 often means a power rail fault: 0102/0110 can indicate GPU solder problems: 1010 or E68 are HDD or storage errors.
Step 5: perform low‑risk checks: swap the AV cable, try a different TV input, reseat the hard drive, and unplug any USB accessories. Note any changes in light patterns.
This sequence, visual note, on‑screen code, secondary code, then low‑risk swaps, lets a gamer decide if they can fix the problem themselves or need professional help. For broader repair context and parts sourcing, consult the site’s complete guide and repair primer in the cluster of articles.
Practical Fixes For The Most Common Light Patterns
Immediate answer: match the fix to the pattern, simple fixes first, board repairs last.
Two red lights (overheating): Improve airflow first. Move the console to an open shelf, pull dust with compressed air from vents, and test fans for noise or resistance. Gamers reported a steady 15–25°C drop in internal temps after removing lint and adding a small exhaust fan behind the console. Avoid heating blankets and enclosed cabinets. If the console still shows two lights after cooling and testing, a failing fan or thermal paste degradation may need component replacement.
Three red lights (hardware failure): This often needs professional service. Home options include careful reflow attempts, but that carries risk. Many players who attempted DIY reflow saw temporary returns but recurrence within months. Recommended path: document the error codes, back up any data, and pursue board‑level repair from a reputable technician. For owners on a budget, compare local repair shops and the repair primer to evaluate costs and warranties for reball/reflow work.
Four red lights (no video detected): Reseat or replace the AV/HDMI cable and confirm the TV input. Try a different cable and another TV. In one case, swapping to a certified HDMI cable restored signal immediately. If the cable and TV are good but the console still shows four reds, the AV port or audio/video controller may be damaged and requires solder‑level repair.
Single‑quadrant (E74 style): These usually need board repair or motherboard replacement. A precise secondary code helps a technician pick the right repair: some shops replace the scaler chip, others recommend a full board swap. Gamers should weigh repair cost against buying a used replacement console. Practical warning: avoid opening the console unless comfortable with static safety and torque screws, improper handling increases risk.
Resource links: the site offers a detailed walkthrough and parts guidance in the troubleshooting guide and a concise overview page that helps hobbyists decide whether to DIY or hire a pro.
Conclusion
Clear takeaway: count the red quadrants, capture the on‑screen and secondary codes, then apply the matching fix, cable and ventilation checks first, board‑level repairs last. Players who follow the diagnostic sequence avoid wasted time and unnecessary expense. When repairs exceed a safe DIY threshold, document codes and seek professional service. For an organized next step and repair resources, the site’s full guide and related walkthroughs help gamers choose parts, shops, or replacement options.